
“Next
to the home and school, I believe television to have a more profound influence
on the human race than any other medium of communication” - Edgar Dale
The Film, the video and the TV
are indeed very powerful. Dale (1969) says, they can
• Transmit a wide range of audio - visual materials,
including still pictures, films, objects, specimen and drama.
• Bring models of excellence to the viewer .
• Bring the world of reality to the home and to the
classroom through a “live” broadcast or as mediated through film or videotape.
• Make as see and hear for ourselves world events as
they happen.
• Be the most believable news source make some programs understandable and appealing to a
wide variety of age and educational levels.
• Become a great equalizer of educational opportunity
because programs can be presented over national and regional network.
• Provide us with sound and sights not easily
available even the viewer of a real event through long shots, close up, zoom
shots, magnification and split screen made possible by the TV camera.
• Can give opportunity to teachers to view themselves
while they teach for purposes of self-improvement can be both instructive and enjoyable.
While
the film, video and TV can do so much, they have their own limitation
• Television and film are one-way communication
device. Consequently, they encourage passivity.
• The small screen size puts television at a
disadvantage when compared with the possible size of projected motion pictures.
• Excessive TV viewing works against the development
of child's ability to visualize and to be creative and imaginative, skills that
are needed in problem solving.
• There is much violence in TV.
Basic
Procedure in the Use of TV as a Supplementary Enrichment
1. Prepare the classroom.

2. Pre-viewing Activities

a. set
goals and expectation
b. Link
the TV lesson with past lesson and / or with your student's experience for
integration an relevance.
c. put
the film in context.
d.
Point out the key points they need to focus on
3. Viewing

a. Don't
interrupt viewing by inserting cautions and
announcements
you forget to give during the previewing stage.
b. Just
make sure sights and sounds are clear.
4. Post-viewing

to make
them feel ease begin by asking the ff. question:
a. What
do you like best in the film?
b. What
of the part film makes you wonder? Doubt?
c. Does
the film remind you of something or someone?
d. What
question are you asking about the film?
- The film, video, and TV are powerful instructional tools.
- When they are used appropriately and moderately, they can make the teaching-learning process more concrete, lively, colorful and interactive.
- Misuse and abuse of their use in the classroom and even at home has far reaching damaging effects in the development of children’s imaginative and thinking powers and sensitivity to human life.
The Effect of TV
- We agree that the TV can give a more accurate, more lively and more colorful presentation of a difficult topic in physics for instance when the one who teaches the topic is inexperienced and can only make use of still pictures in black and white as visual aid.
- We are aware of the numerous educational benefits of the use of the TV.
- The effect of TV depends on how it is used.
- When used in excess, it can also impair the development of children’s ability to visualize, to be creative and imaginative. Worse, is when children gets exposed to violence in tv.
Social
psychologist Craig A. Anderson gave this testimony to the US senate on March
21, 2000:
“The
Media violence effect on aggression is bigger than the effect of exposure to
lead on IQ scores in the children, the effect of calcium intake on bone mass,
the effect of homework on academic achievement, or the effect of asbestos
exposure on cancer… high exposure to media violence is a major contributing
cause of the high rate of violence in modern U.S. society.”
Let us
use the TV appropriately and moderately so that we can take advantage of its
advantages and mitigate its disadvantages.
Using
Video in the Classroom
Does
video have a place in the classroom?
According to a 1992 study
conducted by Synergy Broadcast Systems, “Video in the classroom is an important
tool used to support the four key components of learning.”
Four Key Components
·
Active Engagement
·
Participation in Groups
·
Frequent Interaction and Feedback
·
Connection to Real-World Experts
Why
Use Video in the Classroom?
• We
remember 70% to 90% of what we see, hear and do.
• Using
video, creating content and producing an end result that will allow students to
do all three.
Technology has changed
• Due to
changes in technology, video tools are more accessible than ever before.
• Students
will be using technology throughout the course of their scholastic career. The
sooner they have access, the better.
Ways video helps assist classroom
assignments:
• Supports
differentiation
• Stimulates
classroom discussion
• Reinforces
readings
• Provides
creative output
• Allows
students to interact with classrooms throughout the world
Recommended Video Tools and
Resources
• iMovie

• Sony
Vegas

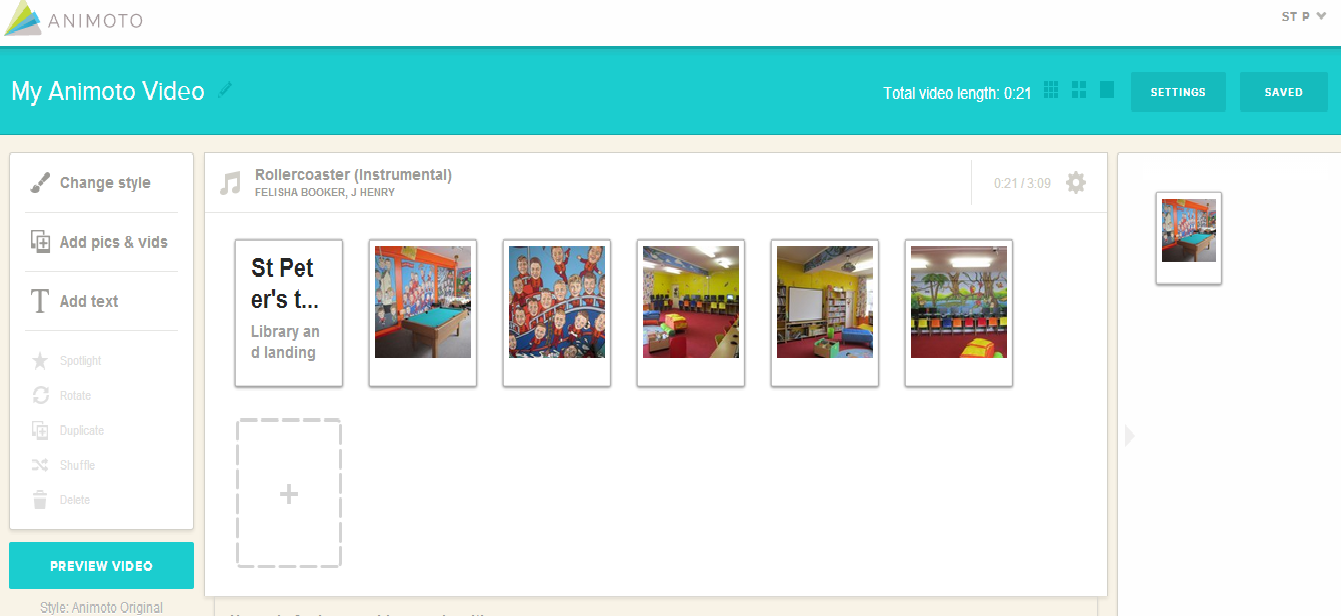
• Animoto
• Gizmoz

• YouTube

• Jing

Advantages
• Video
can be utilized to illustrate how something works .
• Video
provides information in detail that text and graphic cannot.
• Video
can grab student’s attention.
• Video
can show real life examples.
• Video
stimulates discussions.
• Video
can appeal to the learning styles of visual learners.
• Video
could enhance problem-based learning.
Using Film in the Classroom
At Film
Education, we believe that films is a power tool than can help learners
understand and access that world and other worlds
•
real and imagined
•
Parts of our remit is to encourage young people to
learn by viewing and to be critical consumers of what they see an ability and
analyze film is an empowering skill and one that is increasingly important for
young people.
•
Film Education's website and materials offer teacher
a wealth resource for incorporating film in to the curriculum.
•
with the advance in technology. it has never been
easier to use or create films in classrooms from elementary school to high
school.
•
Let face it. using film- whether watching them or
actually making them- is often a heat motivator for students of all ages
•
there are teacher all over the world who are
including you tube or film clip in their lesson
3 tips
for using film in the classroom
1. You
tube is your friend, but Clean tube is better
2. Keep
it short and upbeat, generally there's a law of diminishing returns regarding
the length of film
3. Use
it at the start or the end of the lesson
3 tips for making films in class
•
Teaching
students how to make film
•
Build in play time let students muck around with the
different titles and effect
•
Sometimes, it’s not about quality it’s all about the
story.
How
can Film help you teach English
•
Learning from films is motivating and enjoyable
•
Film provides authentic and varied language
•
Film gives a visual context
•
Variety and flexibility
•
Exposes the student to spoken language
•
Useful in teaching vocabulary
•
It contextualizes language through the flow of
images, making it more accessible.
•
Film also offers an enlargement of our knowledge of
the world and the cultures that it contains.
How to use Films in Teaching
1. Find
something you like
2.
Choose something you can understand 70-90% (without subtitles or other help)
3.
Don’t use subtitles in your own language
4.
Watch several times
5.
start with English subtitles, then watch again without subtitles.
6. You
don’t have to spend a lot of time ten minutes a day is better than nothing.


